Octane Render Material Experiment

Generally I do not find enough time for making experiments with Octane. But tonight I decided to push my bed time little bit further.

After the watching

Create the “Micro Jelly” frame using SSS, GSG HDRI Studio and Octane

tutorials I played with settings and I got this result

Abstract Lights4k_fullress

Abstract Lights4k

Photoshop-Filter

C4d

There is not a fancy stuff but it is quite good way to understanding some octane shader tools. You can download my scene and psd file from here

Download Scene and Psd File


Cinema 4d Quixel Workflow Tutorial

Shark Texturing with Quixel and C4d Octane Render Shader workflow

I really like to work with Quixel. It helps me lot for my weak side of texturing. Now i am more confident than before when i start a new texturing project. This my short tutorial to show how it is easy to use. I hope u like it.

Important tips for beginners.

  • good Uv map in 0-1 grid
  • clean color Id map
  • clean normal map
  • not necessary but  ambient occlusion map

beautiful tutorials for Quixel 
I use ChrisMills’s amazing script for getting Quixel map to Octane. U can download it from https://render.otoy.com/forum/download/file.php?id=47991

New Workflow

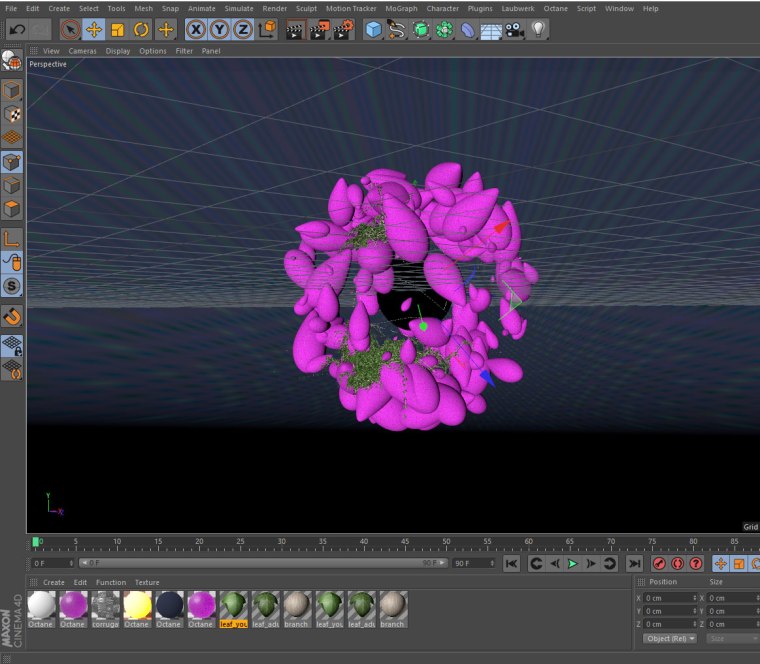
Real time 3d tools are so popular after the GPU revelation. I decided to change my workflow after the Siggraph 2015.  It can be looking easy but it is quite risky in the middle of some continuous projects. I have been working different render engines since 10 years Mental ray, Turtle, Vray or Arnold. My first step was changing my render engine to gpu base one.

Octane-Render-v.2.0-Full-Cracked-Download-x86-x64-PC-Mac-Linux-Cracks-Serials-and-Key-Activations-3

I watched so many compression and tutorial videos related GPU base render engines. Finally I decided to try Octane Render and I used  Octane Render demo version for month and I decided to buy it. I got for Cinema 4D version of it. I also made some changes on my desktop like a new gfx 970 graphic card. It is not enough for by self but it is ok for introduction.

banner

Second Step was texturing. I could not decided between Subtance Designer and Quixel long time but after the one month test I decided to go with Quixel. It is working with Photoshop and very easy to understand and it has also very good and active quixel community support.

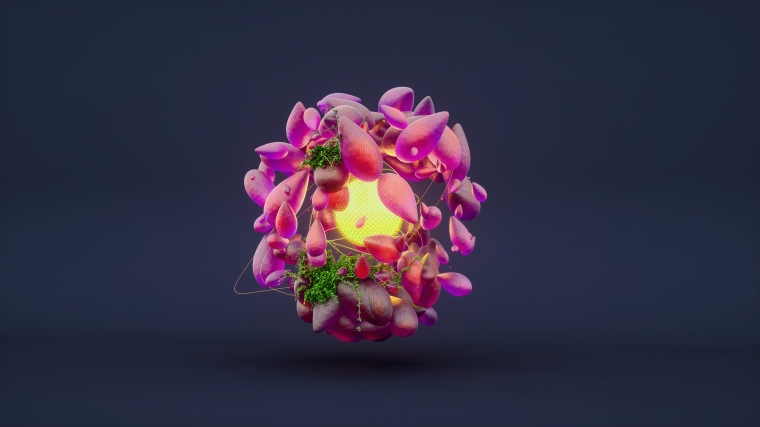
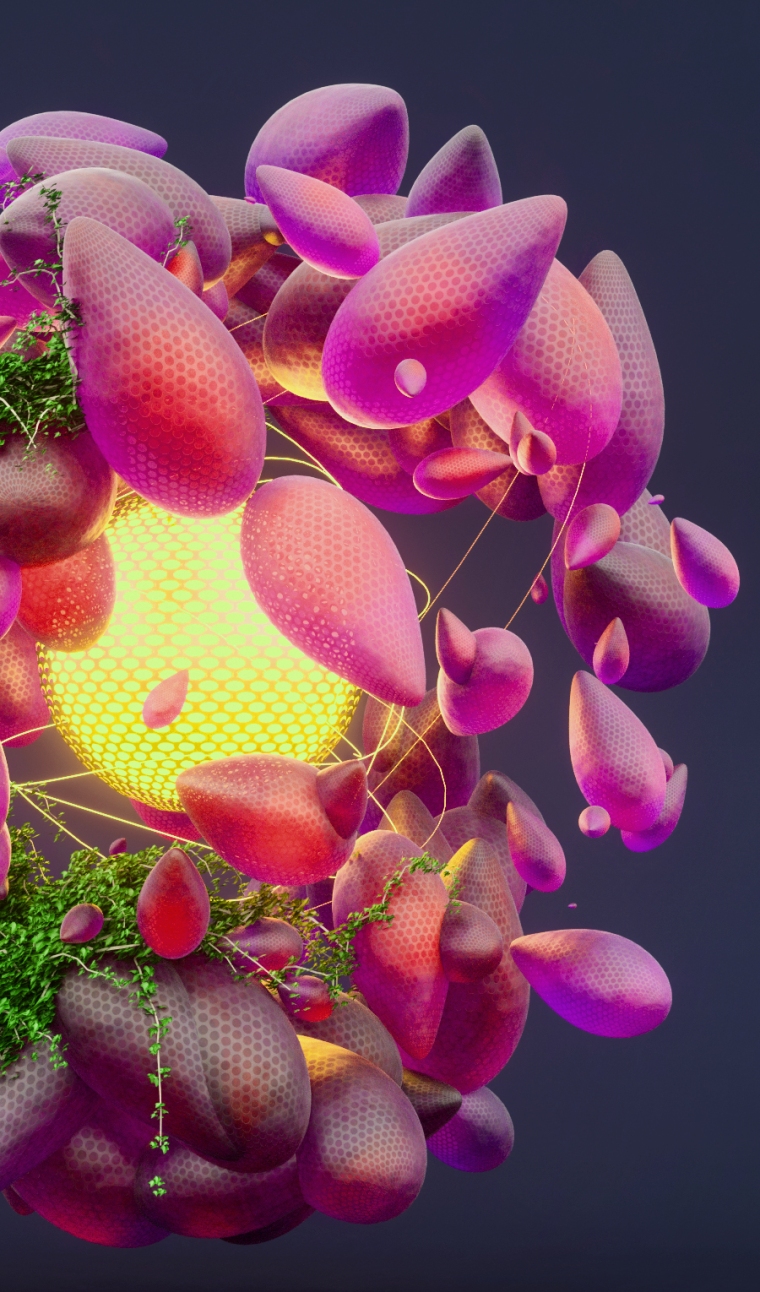
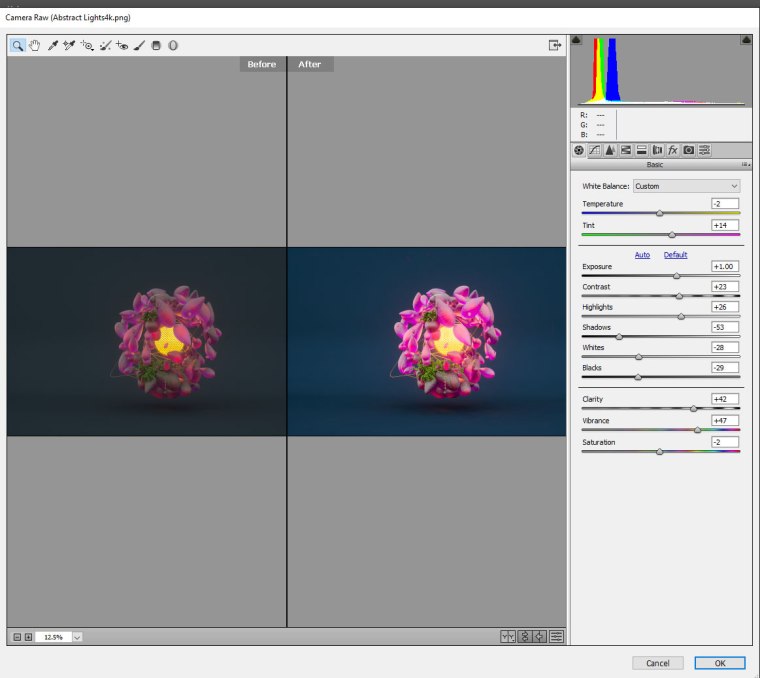
I got some render with Octane and Quixel you can see them on my gallery section


MIAF 2015 – War Child

ust

2015 was extraordinary year for me . I graduated from Deakin uni. But important than that one War Child is selected MIAF 2015 Official Opening – Australian Showcase. It was amazing night with meting more than 1000 audience. I personally thanks Malcolm Turner for enormous sports. It means lots for me. I also thanks to the Deakin University especially  Rosemary Woodcock. I also presented my works to making off session.

All details Please visit http://miaf.net/

miaf03

miaf02

War Child Animation

Actually this is my Advanced Animation subject’s project. I try reflect my all deep feelings about war child, This is not a recreating a war scene. This is my tears for all innocent children who died or be left an orphan children, I know It is not a master piece but I just try to finish in short amount of time and I am quite happy to submitted this project on time. I really want to thanks Mrs Lienors Torre for all directions and supports.

I will present this project at MIAF (Melbourne International Animation Festival) on Wednesday  25 June. So I am so excited about it. You can find more Information about MIAF and Blend Symposium.

Technical Details

I mixed up three animation programs but mostly I use Cinema 4d for this project. Because i Had very limited time and I can setup light very quickly in Cinema 4d. I did all animation in Maya and I exported fbx file format for Cinama 4d. I use 3Dsmax for modelling ruin buildings. I use After Effect for creating sketchy effect and color grading.  These are some screen shots from my project. Please send comment and question related this project.


Warchild_AbdullahKokce_Assignment3.mov_snapshot_00.13_[2014.06.07_00.41.45] Warchild_AbdullahKokce_Assignment3.mov_snapshot_00.18_[2014.06.07_00.42.13] Warchild_AbdullahKokce_Assignment3.mov_snapshot_00.31_[2014.06.07_00.42.32] Warchild_AbdullahKokce_Assignment3.mov_snapshot_00.39_[2014.06.07_00.42.48] Warchild_AbdullahKokce_Assignment3.mov_snapshot_00.44_[2014.06.07_00.43.14] Warchild_AbdullahKokce_Assignment3.mov_snapshot_00.50_[2014.06.07_00.43.29] Warchild_AbdullahKokce_Assignment3.mov_snapshot_00.55_[2014.06.07_00.43.40] Warchild_AbdullahKokce_Assignment3.mov_snapshot_01.06_[2014.06.07_00.43.57] Warchild_AbdullahKokce_Assignment3.mov_snapshot_01.14_[2014.06.07_00.44.10] Warchild_AbdullahKokce_Assignment3.mov_snapshot_01.21_[2014.06.07_00.44.35] Warchild_AbdullahKokce_Assignment3.mov_snapshot_01.23_[2014.06.07_00.44.42] making off02 egyptfinal035002 egyptfinal0350

Learning Photo Retouching

Actually i am coming from 3d animation background so I do not know Photoshop very deeply however I had to learn some retouching technique for my Advanced Digital Imaging subject. Our project was  retouching two model’s face.

Actually I really wanted work with on abstract retouching project but I work on three different project so I do not enough time for so munch things to do.

This is my learning process so I started to search some good tutorial on the web I found so many good places for example

http://www.photoshoptutorials.ws or design.tutsplus.com but I like http://www.learnphotoediting.net because I was wondering about creating an artwork like which looking high impact advertising so I fallow their tutorials. It was nearly two or three hours but I have learned so many tricks

I started with this modeloriginal02 isabel works02 FirstPicture-for-web

my second model was1_n fin02 fin02web

when I finished all this tutorial I just tried to sharp what I have learned from tutorialsDSC_0145web abdullahkokce Self-Portrait-for-web

Emotion Design

I started to new experimental project for Design Skill subject. Project was designing three different emotion symbols. After selected my three emotion, I started to visual research however every image or design make me confuse. I kept continue to most of time visual research and some very bad sketching

motions

Abdullah_ACG103_Assignment1_Page_17

visualsketch

ashamed-1 ashamed2-(2) confused1


these are my final designs. I am happy for all of them but they are too complex from symbol so i think i failed from this aspect. I should simplify all designs but i had to finish in scheduled time period. I learn one thing you can reflect your idea perfectly with your design however important thing  is you have to stick your project description.

1 2 3

HDR Inside Out

Inside Out is HDR interior photo shoot working for Advanced Digital Image subject

I choose Melbourne Exhibition Center for this project. My daughter helped me so much.

9I shoot four different angle for this project with different exposures setting. Because I need to balanced indoor and outdoor lighting. So I started with -2 exposure for getting outdoor lighting and I finished +2 exposure for all indoor details

four-shotI selected one shoot of them for editing and I imported all of them to raw editor.11

2

3I masked all windows and exterior columns for blending all different exposure images7I also use layer mask for floor and interior columns for smooth transition between images6This is my final result1